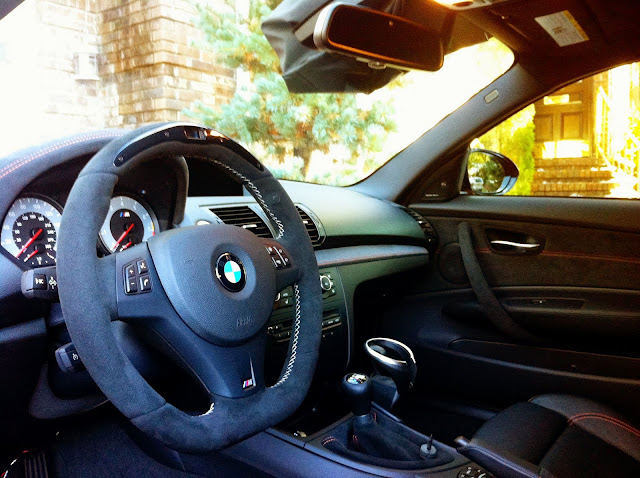
Here is DIY on how to install BMW Performance Steering Wheel Version II Flat Bottom.
INSTALL PDF ATTACHED !
I BORROWED SOME PICS FROM THIS USERS DIY
It is not very difficult you just need to take your time and pay attention to what you are doing, and TAKE YOUR TIME!
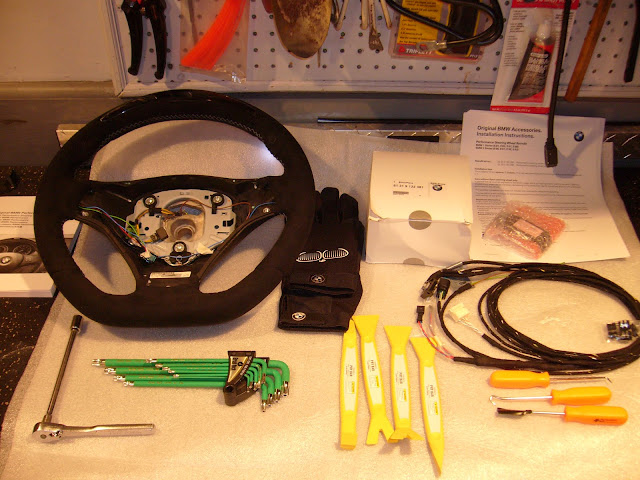
Tools:
1. Not very big Flathead Screwdriver
2. 16mm socket with wrench and extensions
3. T15 torx socket ( i think it is T15 but I might be wrong)
4. Very small flathead screwdriver or Small Pik
5. 10mm socket
6. Plastic Pry Tools (RECOMMENDED)
This DIY is for you just to look/read and get an idea on how it can be done. I am not encouraging you to do this installation unless you are technically inclined to do so.
I will not be responsible for anything that might happen to you, your vehicle, or anybody who might be helping you, or anything else.
Before you start taking everything apart you need to read PDF Instructions (there not included but will try to attached on here) and get familiar with it.
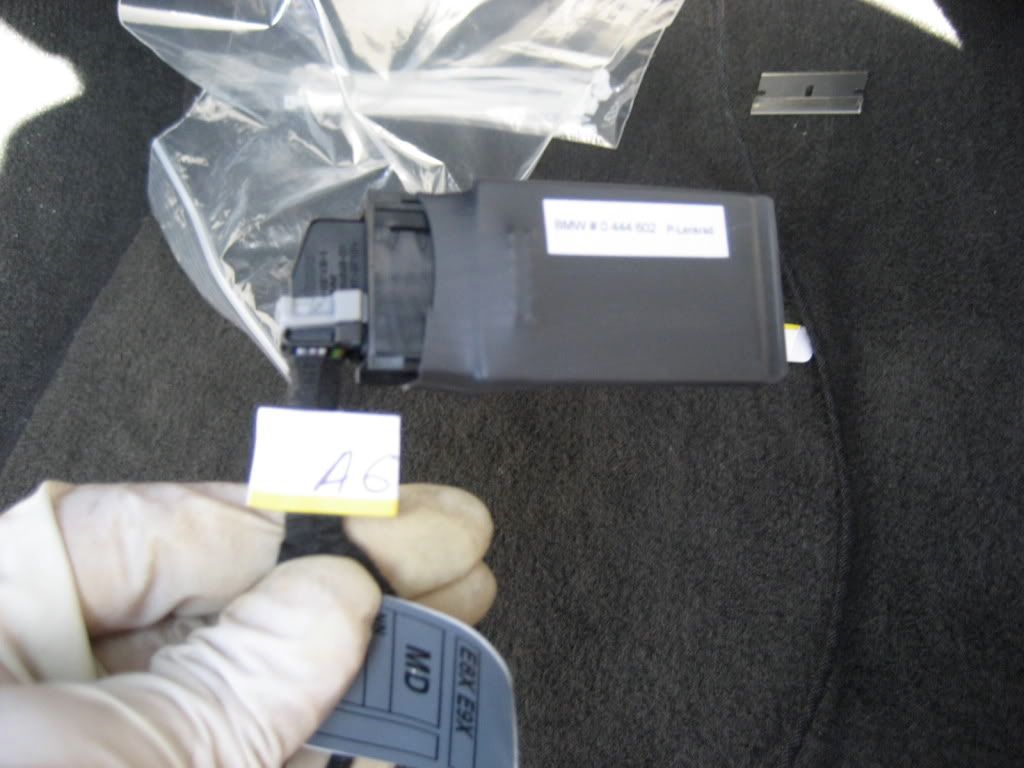
- Make sure you understand what goes where. After you did that, I would recommend to label supplied BMW harness with A1,A2,A3,A4,A5,A6, and A7 tags. It will be easier to figure out what goes where.
NOW LETS BEGIN
--------------------------
1. Make sure you have your trunk open and I would recommend also lowering your windows and leave your key away from the car (if comfort access equipped)
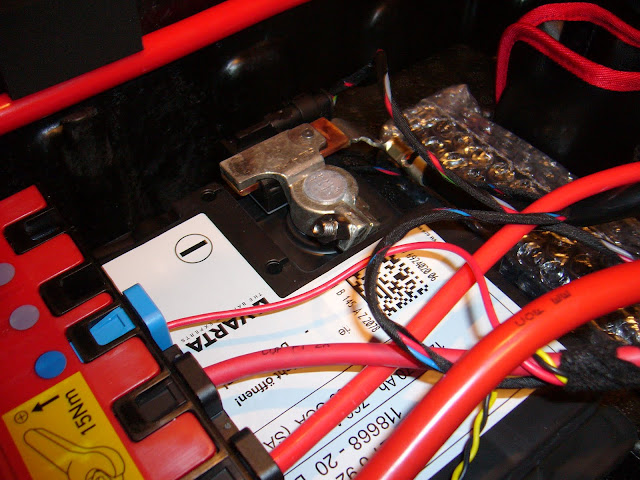
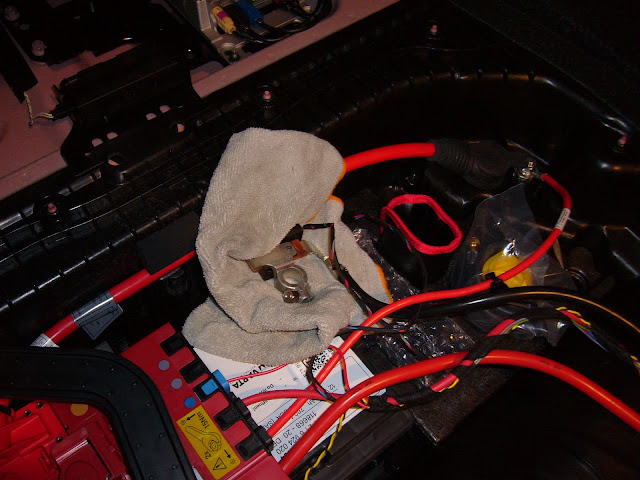
2. Disconnect your Battery and make sure your (-) Negative terminal will not touch the battery, I kept a micro-fiber under neath to avoid contact
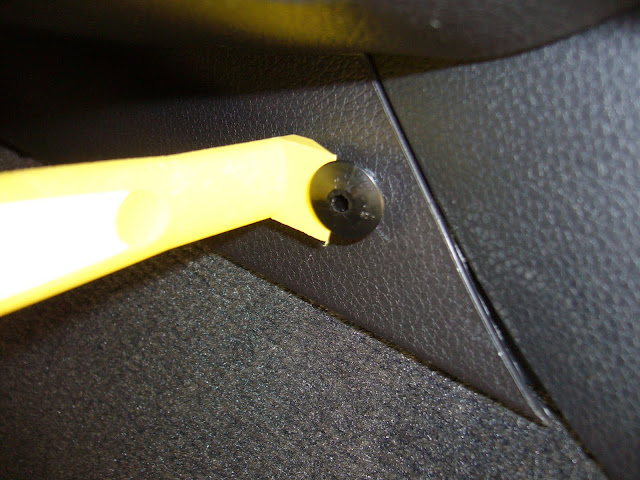
3. Next remove all trim work on both sides of the footwells, use caution as the trims and clips are fragile if not taken into account for your own strength.
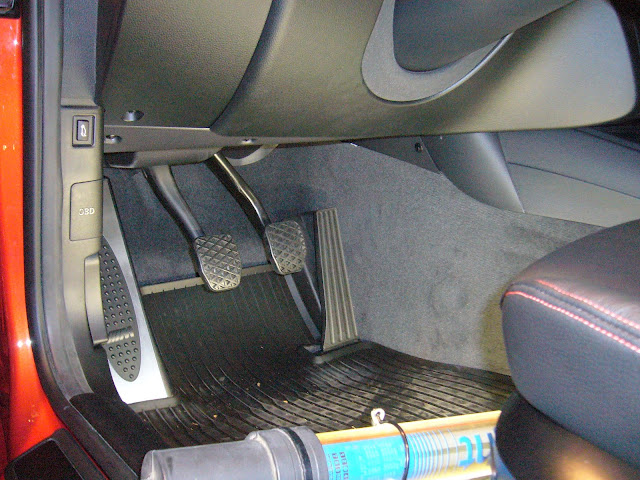

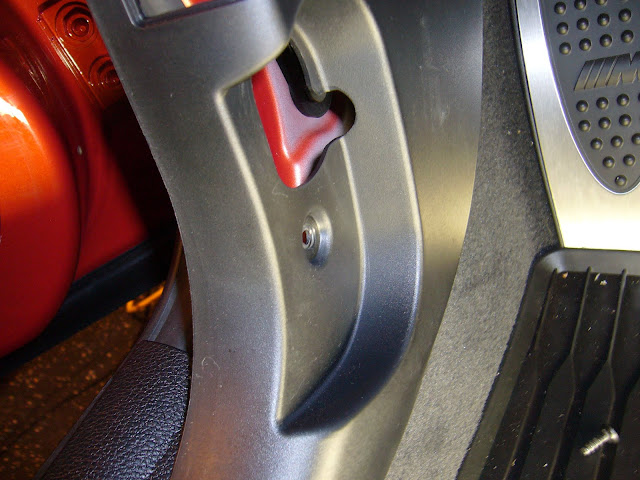
4. The hood release has a phillips screw and then underneath the hood latch is another phillips screw.
5. Use caution when removing the trim work as there are MANY connectors and modules in this footwell panel
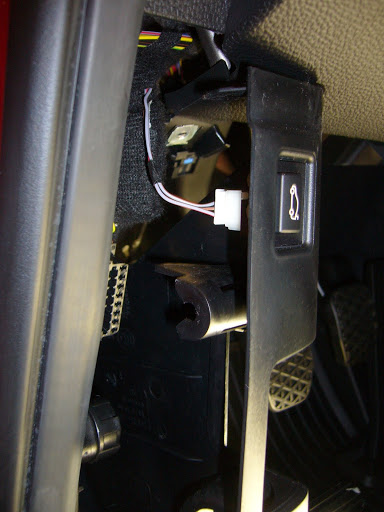
6. Next remove the driver footwell covering ( 3 T20 screws or T15s I forget)
7. Then completely remove the driver footwell panel (USE CAUTION PULLING CONNECTORS OFF)
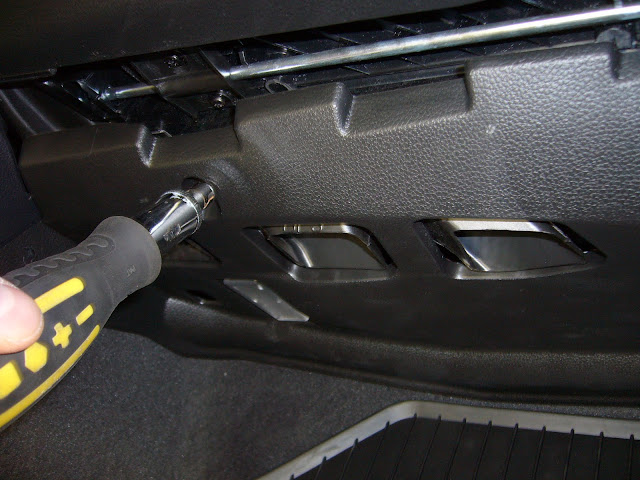
8. Next remove the passenger side foot well and side kick plate (CAREFUL there are 2 plastic tabs that hold it into place use your plastic pry tools to remove.)
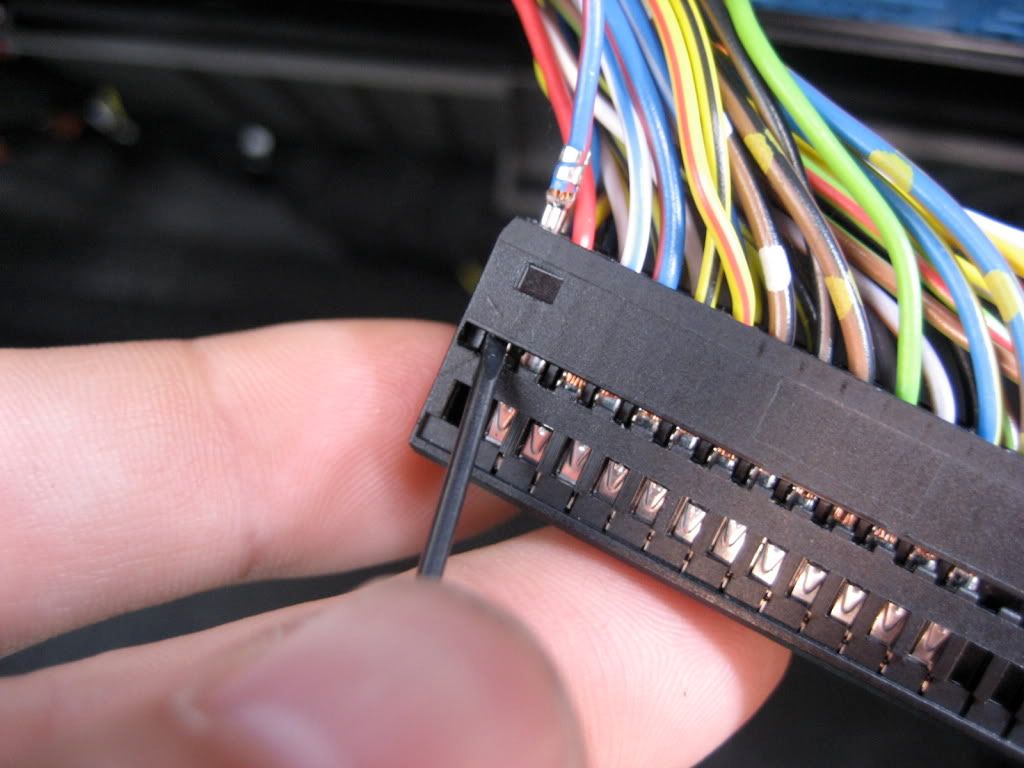
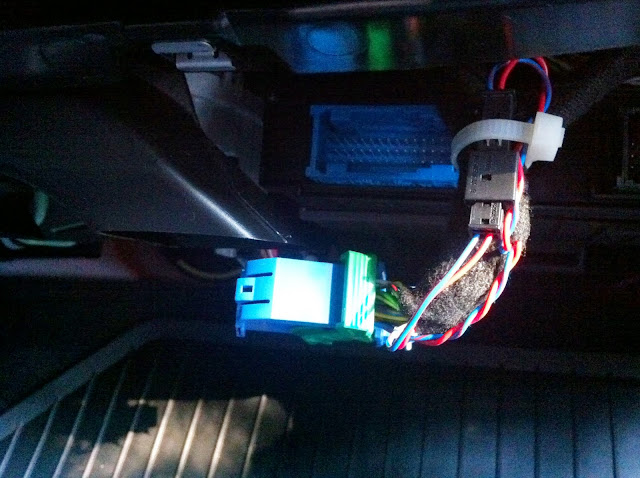
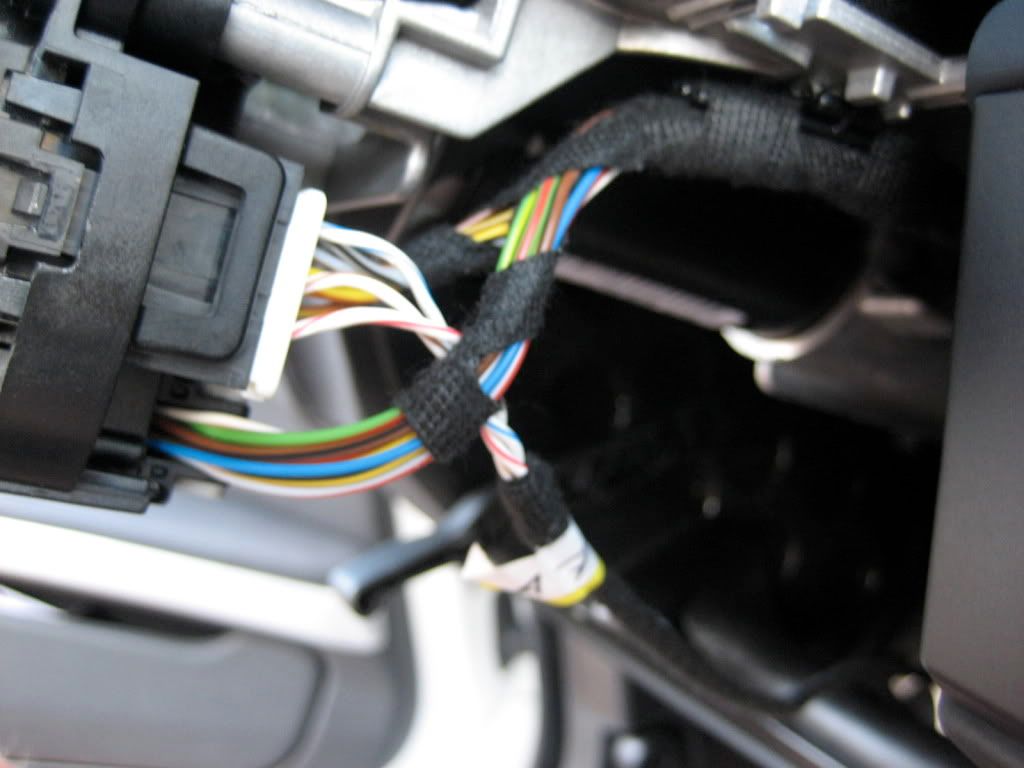
9. You will then see 2 Sets of connectors BLUE & BLACK, unplug the BLUE connector
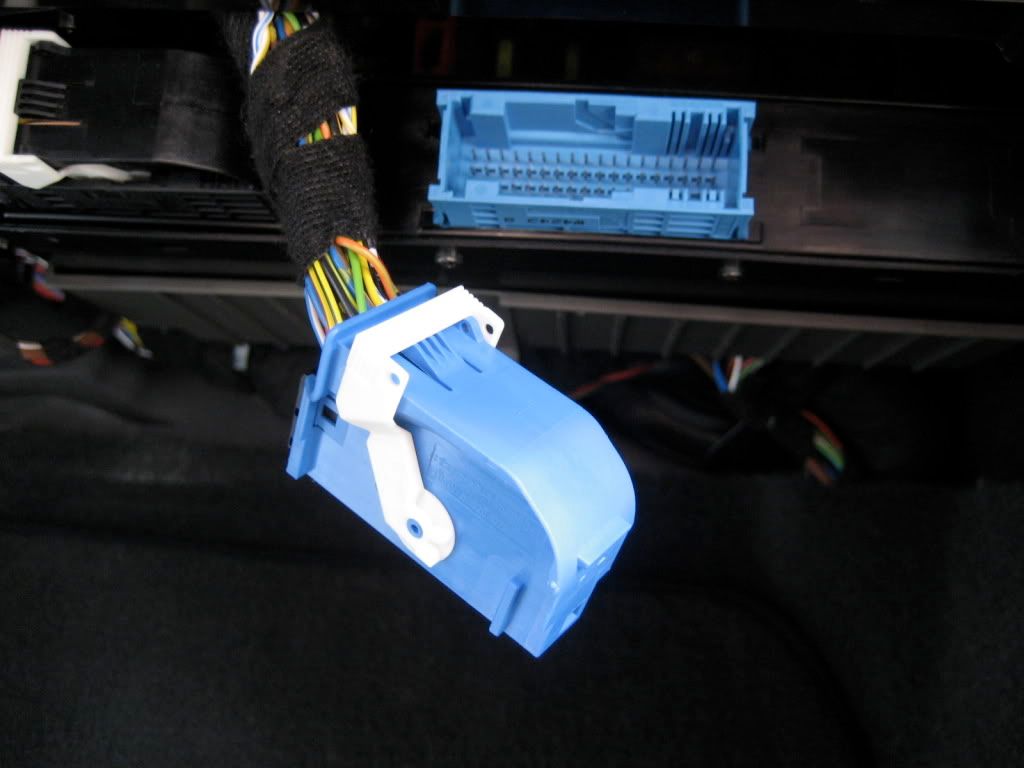
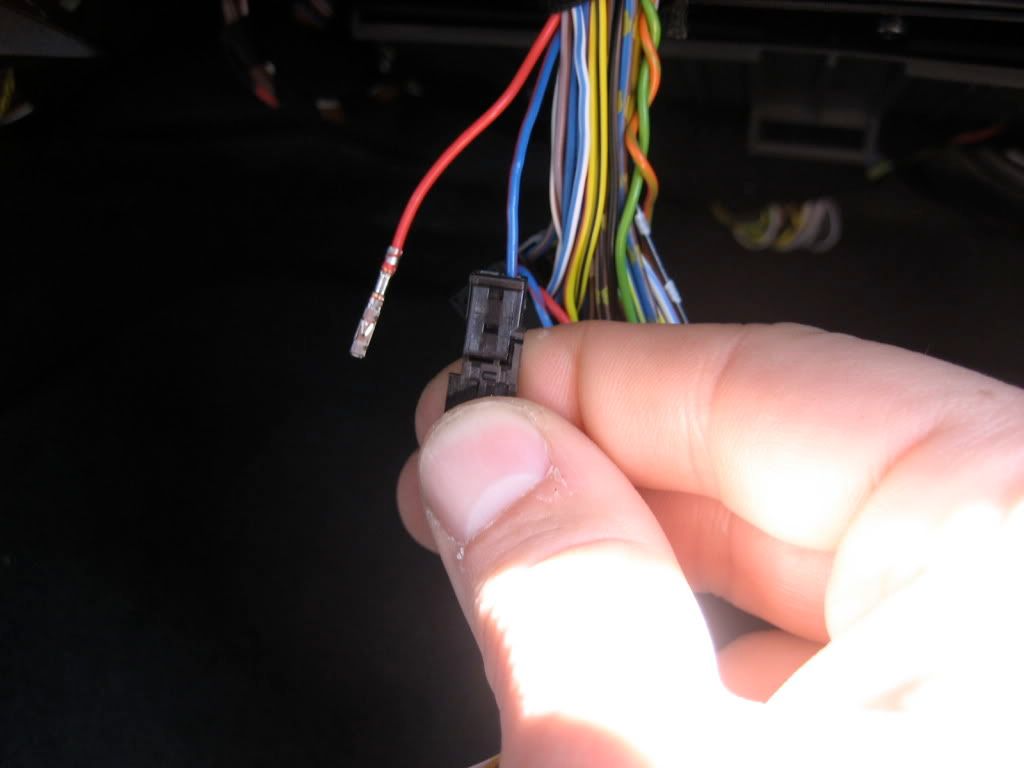
10. Next remove the connector from the sleeve.
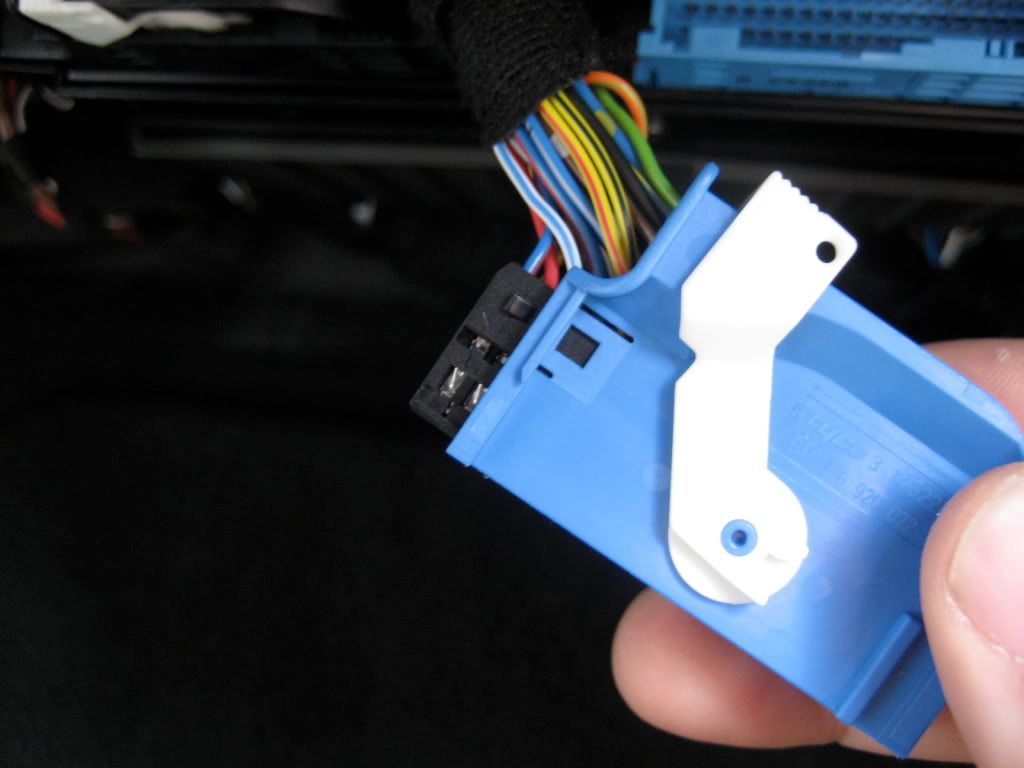
11. Connect the 2 BLUE & RED Wires

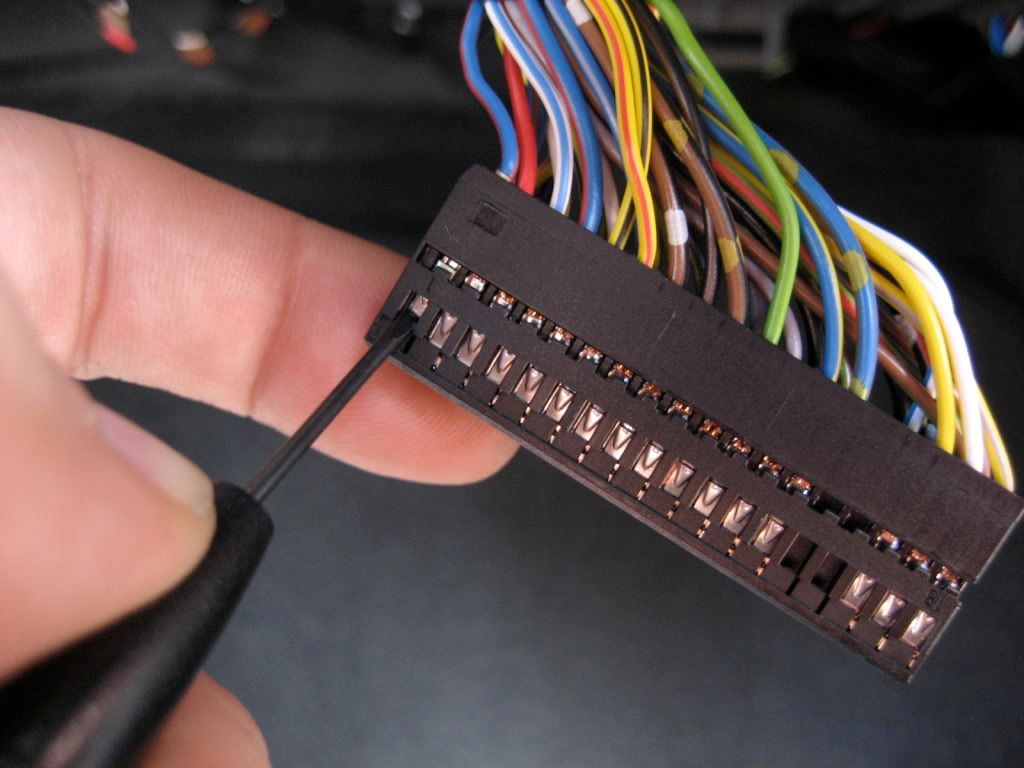
12. Read PDF installation and remove Blue/Red wire from Pin1 and Red from Pin2. Insert A3 into Pin1 and A4 into Pin2. Now install wires that you removed from Pin1 and Pin2 into Connector E - Pulling out wires from Pin1 and Pin2
13. Connector Labeled E removing and installing the loop back loom.
14. Connecting the new harness
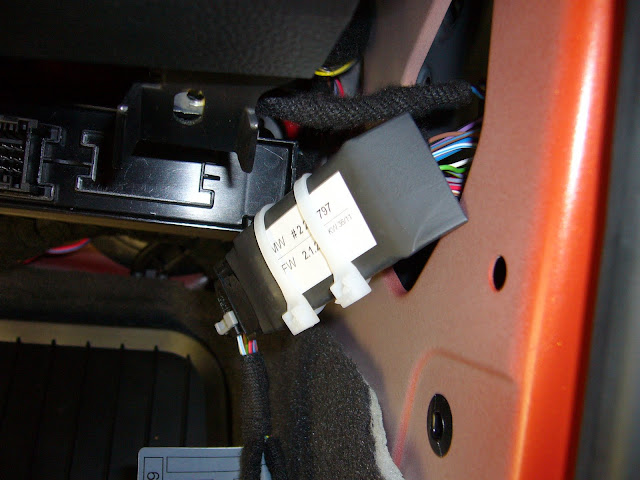
15. Install the control module B
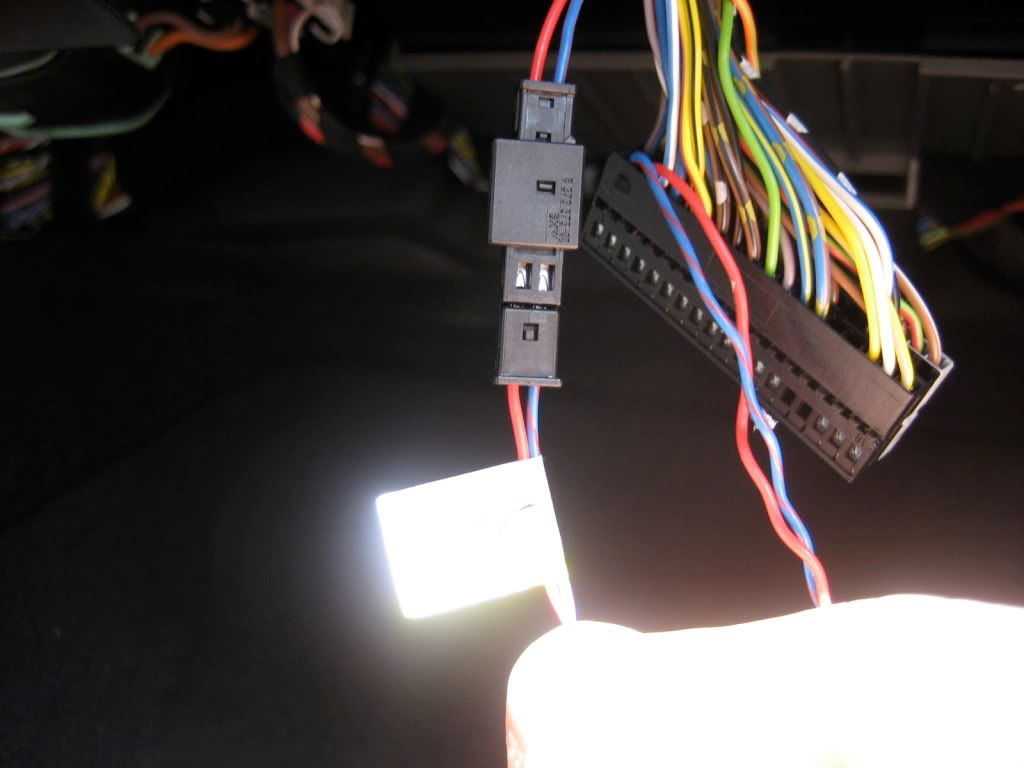
16. Install the Black connector into Blue connector and then reinstall Blue connector. I used zip-tie to get all those wires together. Gotta keep it neat !
17. Next feed the longer of the 3 cables into the glove box (this cable is for the track side module small 2 PIN Round Connector)
18. Now feed the remaining 2 connectors thru the console and have them out the driver side
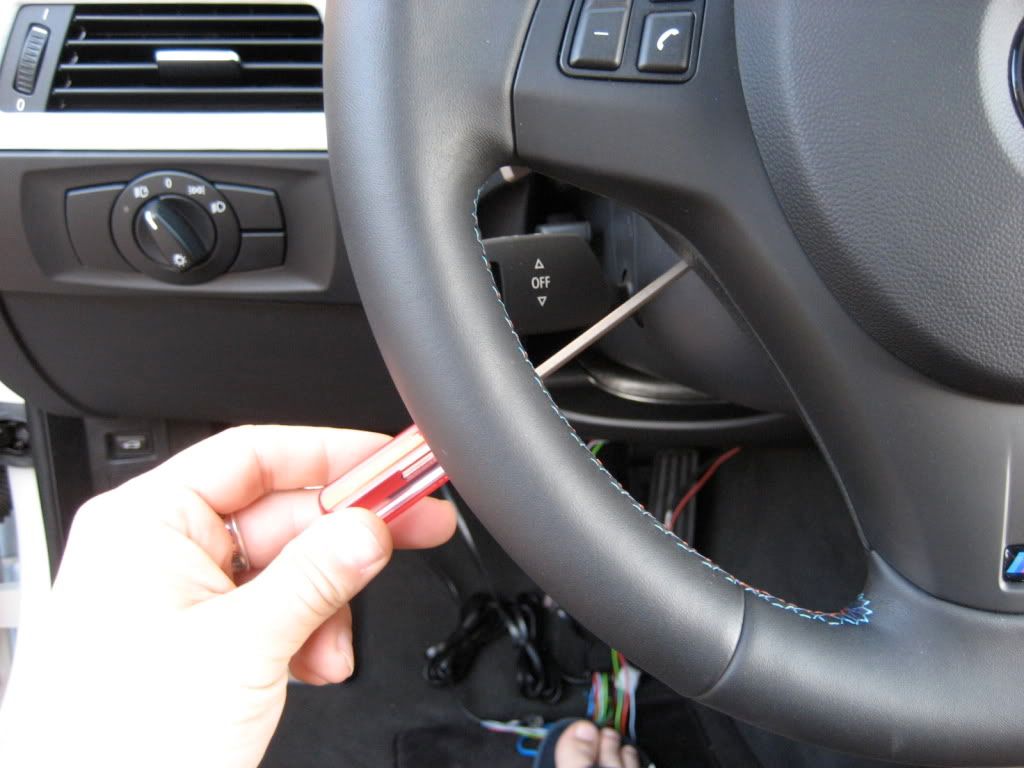
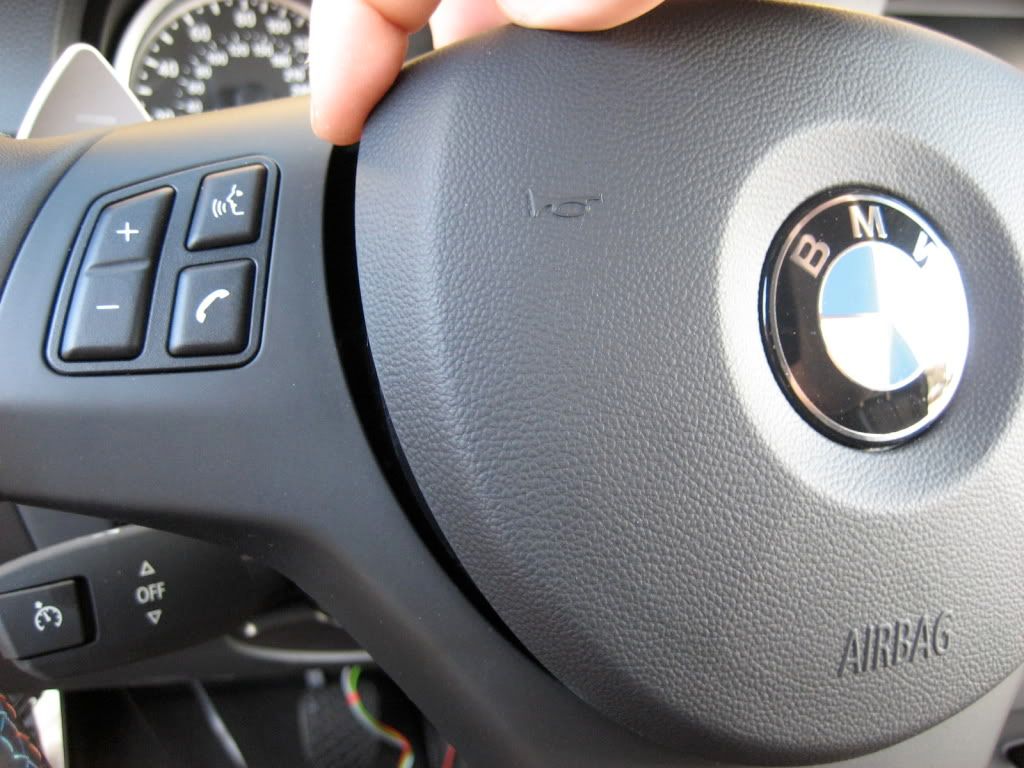
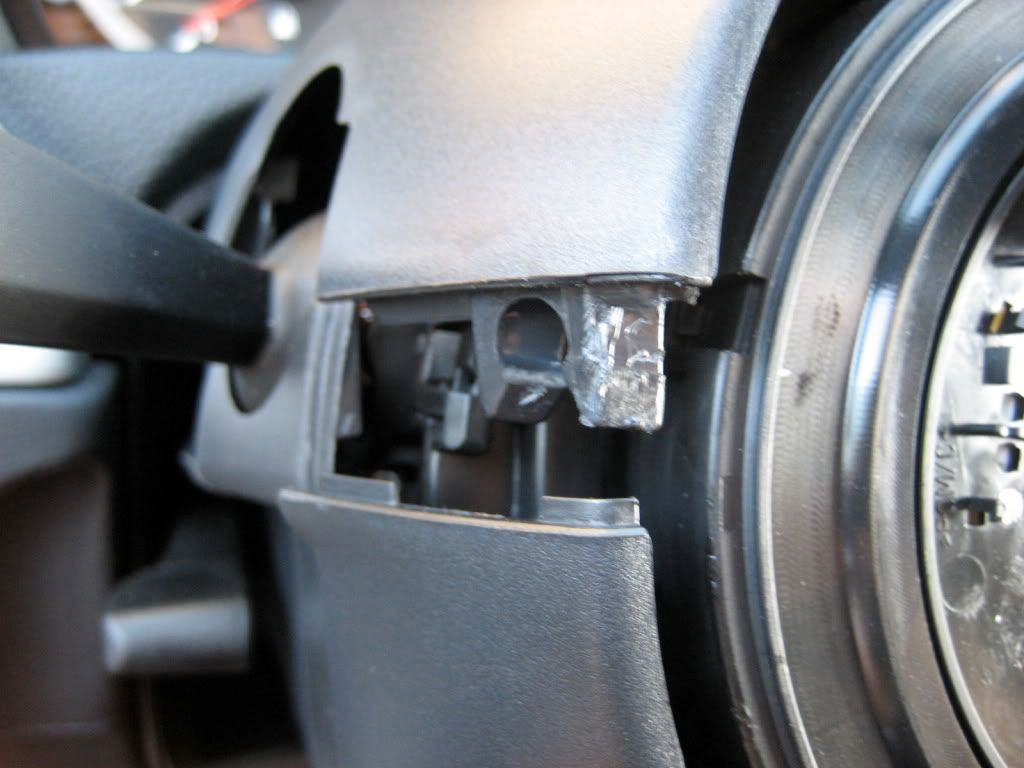
19. Next remove the Air Bag Module using a flat blade screw driver to reach the release tabs. Next disconnect the connectors using a small flat blade screwdriver to remove the connector security tabs.
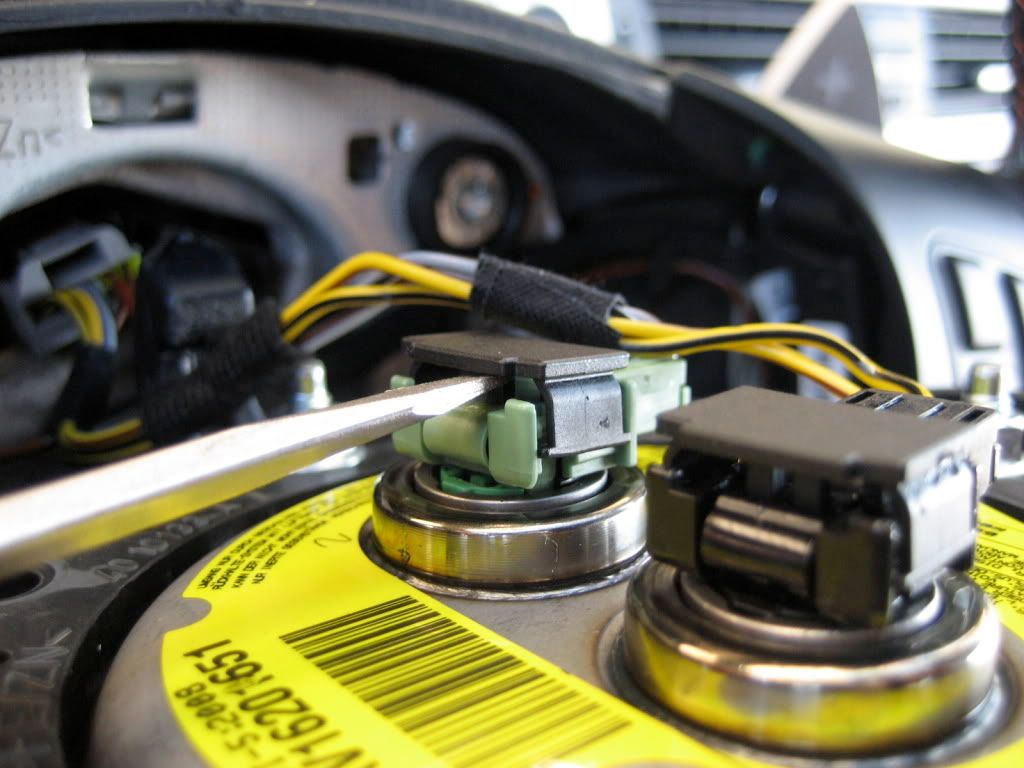
20. Disconnect the connectors on the steering wheel.
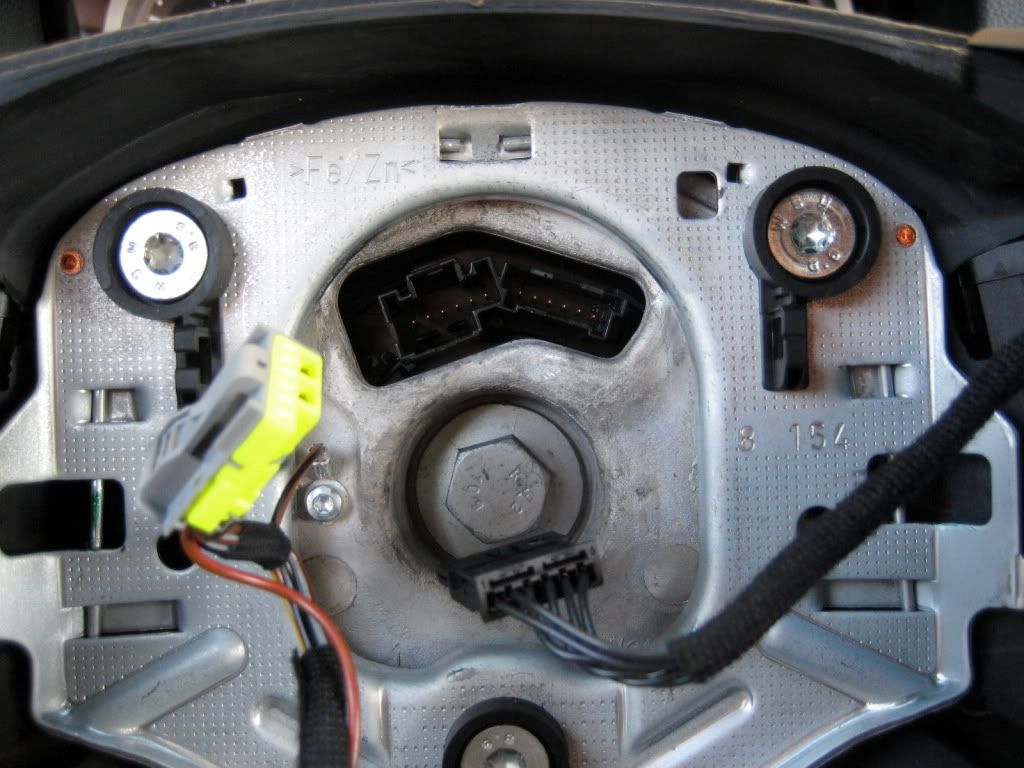
21. Next is to remove the wheel. 16MM Bolt
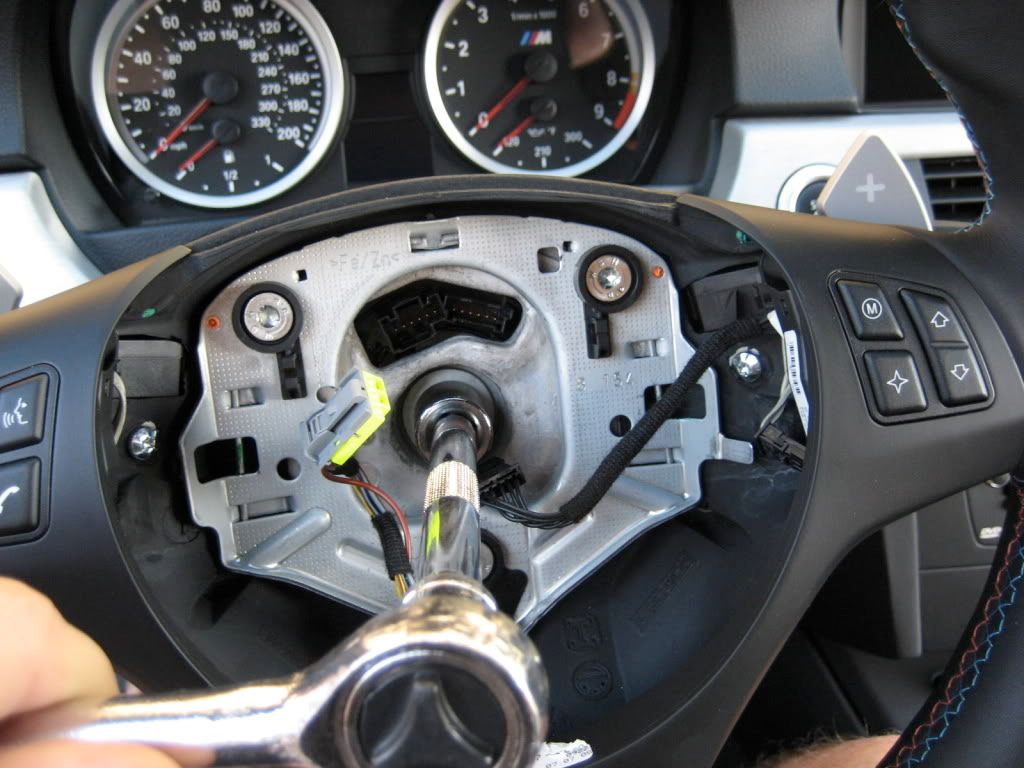
22. Now we need to remove upper/lower steering column trim. Pull the upper part first. Pull it up and do one side at a time. You can use your plastic pry tools again and push it up from the inside, but be very careful and take your time.
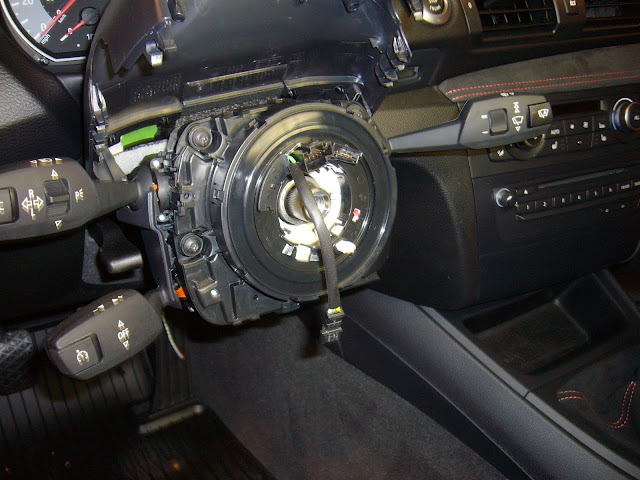
23. Removing the Coil spring cartridge with T15 torx. Unplug Black & White small connectors on the RT side.
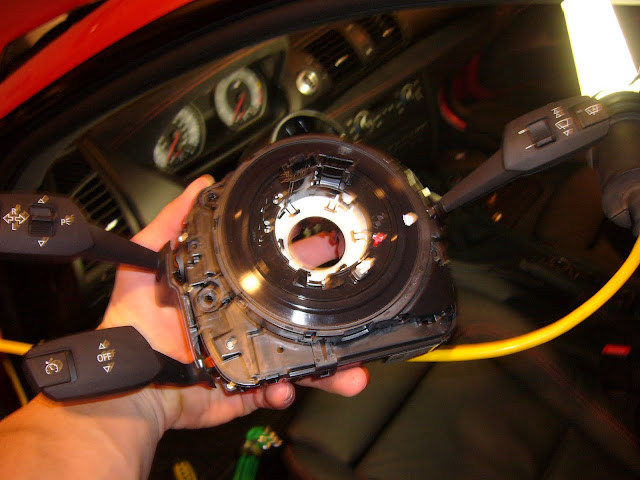
24.Make sure not to pull the whole assembly out of the column. Very Important. Unclip all the clips and remove just the Coil spring cartridge and nothing else. These are the clips that are holding it on the side, so make sure to unclip them
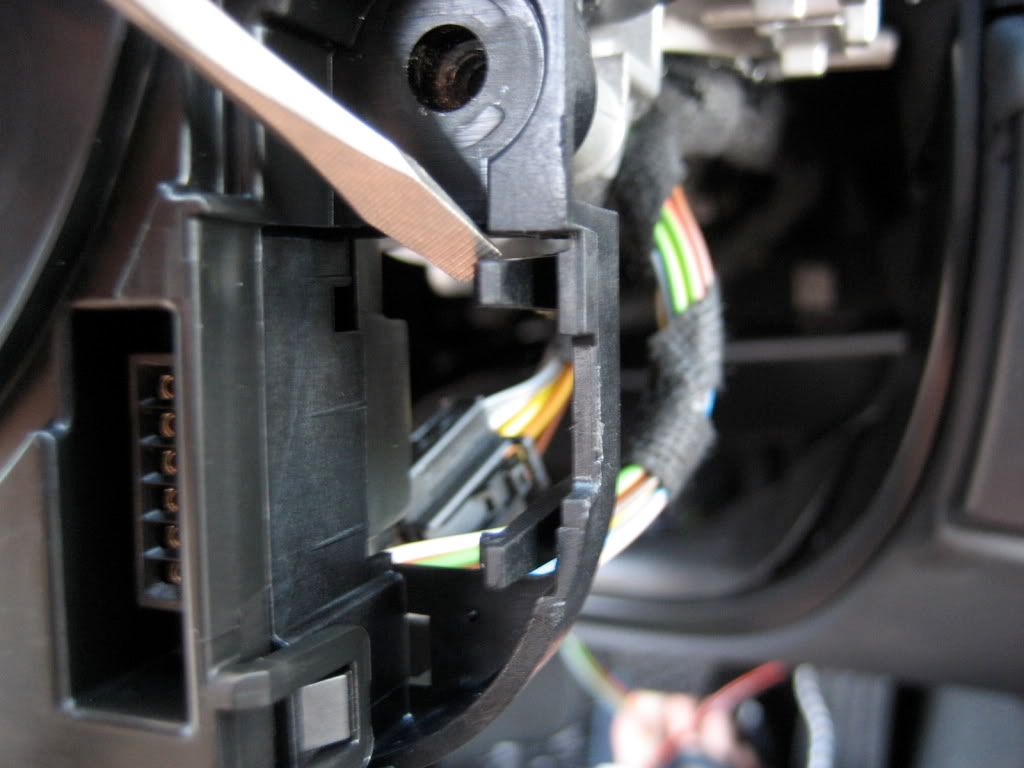
25. Bring the white connector up the steering column.
Read PDF instruction and remove wires from the Black connector (it has 6 wires in it) and insert them into A7 white connector. They are numbered 1-6 and you need to insert them the same way ... #1 from Black connector goes to #1 in A7 White connector and so on ...
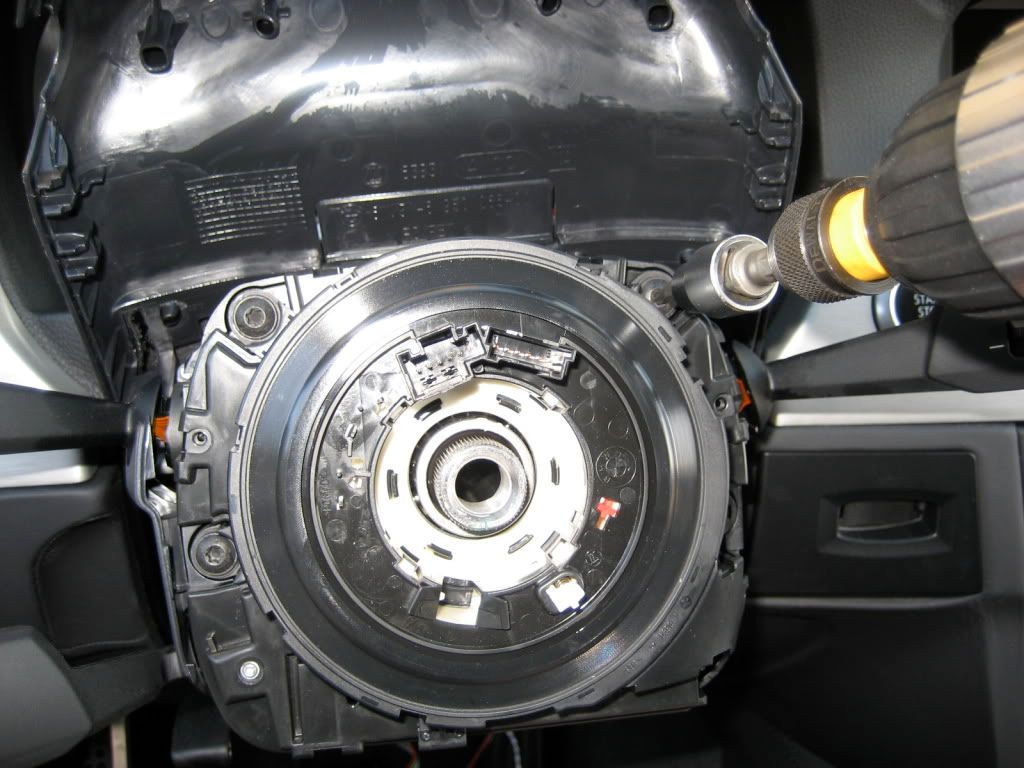
26. Connect this connector and the smaller connector to the new Coil Spring.
Re-Install the Coil Spring
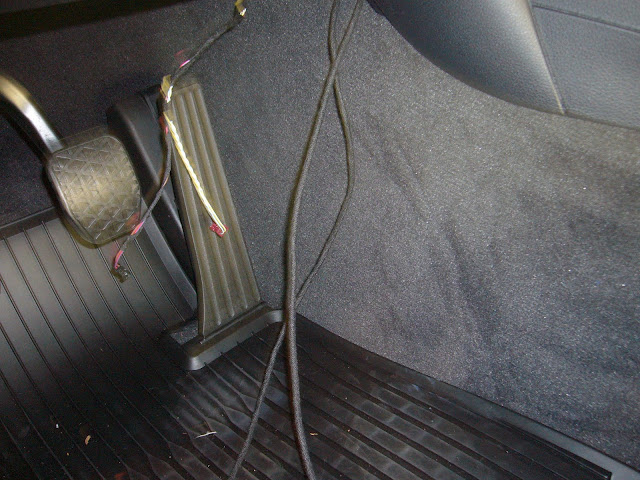
27. Pull the open brown and green wires to the OBDII PORT
Wires are BROWN TO BROWN
GREEN TO GREEN YELLOW
Test first before tapping!
28. Next transfer over your controls and trim to the new Performance Wheel V2

29. Re-Install Wheel - Transfer everything from your old wheel to your new PSW and install everything back. Read the PDF file. Connect black connector from the new Coil spring cartridge to the Green connector on you new PSW. The rest is the same. In PDF file it says to connect Black connector to Black but it is actually Green and not Black. Just FIY.
30. COMPLETED Simply test and re install all trim work after you have verified working.
ENJOY !!!